What comes to mind when you hear the term self-care? For many folks, this may be taking time for a yoga session or daily meditation. Maybe it’s a facial or a bath bomb? Maybe it’s a new outfit, a walk outside, or a nap in the middle of the day. For me, it’s taking time to cook a meal for myself.
While attending Culinary School in NYC and beyond I have always held the position of the “cook” wherever I reside. For decades, I’ve loved cooking beside friends and co-workers, sharing my passion for food, and teaching people to be comfortable in the kitchen. But what happens when you go from a busy social and communal dining life to a solo one? I’d imagine that’s what the past year during COVID has felt like for many single folks in the area. Often people don’t feel motivated to cook only for themselves, but with the proper preparation, it can be an enjoyable act of self-care.
Tips for Solo Cooking
When it comes to cooking for one, I often get asked about how to grocery shop without having to throw away extra food constantly. My number one tip is to actually shop more often. Many of us stock our fridge full of fresh produce at the beginning of the week and find that we don’t have the time or energy to cook as much as we had hoped – it happens to the best of us! Instead of one big grocery haul, buying fresh items every few days, along with having a well-stocked pantry to fill in the gaps, is key to solo cooking.
Another helpful tip is investing in a vacuum food sealer. It’s a helpful tool to have on hand when you buy meat or other fresh food in bulk, but you only have an immediate need for one serving. You can vacuum seal the unused portions individually to use for future meals, or cook a family-sized meal and seal the leftovers to unthaw and reheat on days when you want a home cooked meal without cooking.
While many meals can be adjusted to serve just one person, some recipes are just meant to serve a crowd. Baked goods are a perfect example of this. Have you ever tried to make ONE buttermilk biscuit? One way around this is to choose recipes where you can prepare the ingredients, bake only the desired amount, and freeze the rest for later. This can be done for many different baked goods, such as biscuits, scones, and cookies. You can also choose to bake a full recipe and share the leftovers with friends or family later. For my family and I, food has always been a way of showing people we care about them. Sharing food with friends is love, and who doesn’t love finding a few slices of pie packaged up on their porch?
Sharing With Others
I take pictures of food I make for work because it’s my job. I used to think taking pictures of food I was eating just for pleasure or at home was weird, until I started connecting with others through social media. There is a really fun local Facebook group called Connect in the Kitchen. People share photos of their home cooked meals. Solo, family, special event or just an afternoon lunch working from home. It’s a great way to share food with others even when you’re cooking for one.
I’ve been posting photos of my solo meals on Instagram for years now. After a while, I’d get messages from strangers with a picture of a plate of food they cooked. The text often read “you inspired me to cook for just myself, thank you.” In a society where we spend so much of our time working for others outside of our homes, my meals for one mean more than just satiating my hunger. Every time I sit down with that plate of food, I am choosing myself.
One Chicken = Multiple Meals
One simple way to start cooking for one is by roasting a whole chicken. This might seem like a lot of food for one person, but one chicken can provide multiple meals throughout the week. Here’s and idea of how I typically use a whole roasted chicken in my home:
Meal 1: Once the chicken is perfectly cooked, carve a leg and a thigh for dinner and serve with some roasted vegetables and a side salad.
Afterwards, carve the rest of the meat off of the carcass and set aside and save the carcass.
Meal 2: Place the saved carcass in a crock pot and fill with water. Set the crock pot on high until simmering. Once simmering, add a couple tablespoons of apple cider vinegar and change the setting to low. Let the carcass continue to simmer for 24-48 hours. The result is a nutritious and delicious bone broth that can be used for a soup, stew, gravy or risotto.
Meal 3: The remaining meat can be stored in the refrigerator to use for chicken salad sandwiches or wraps in the following days. You can also freeze the chicken and use it later in soups, pot pies, or casseroles.
Now that you see all of the possibilities that are available with just one chicken, I’ll share my favorite way to prepare one.
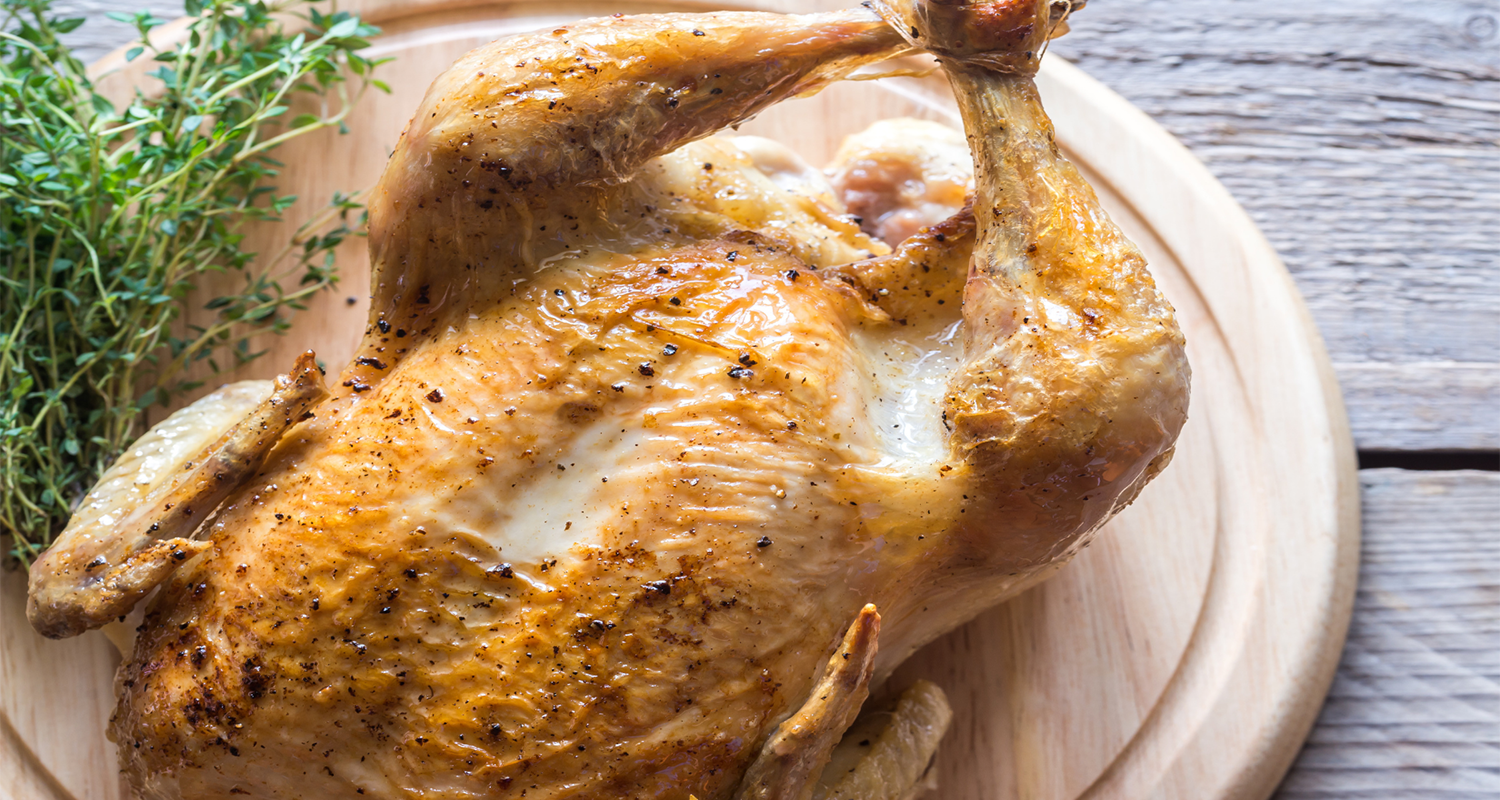
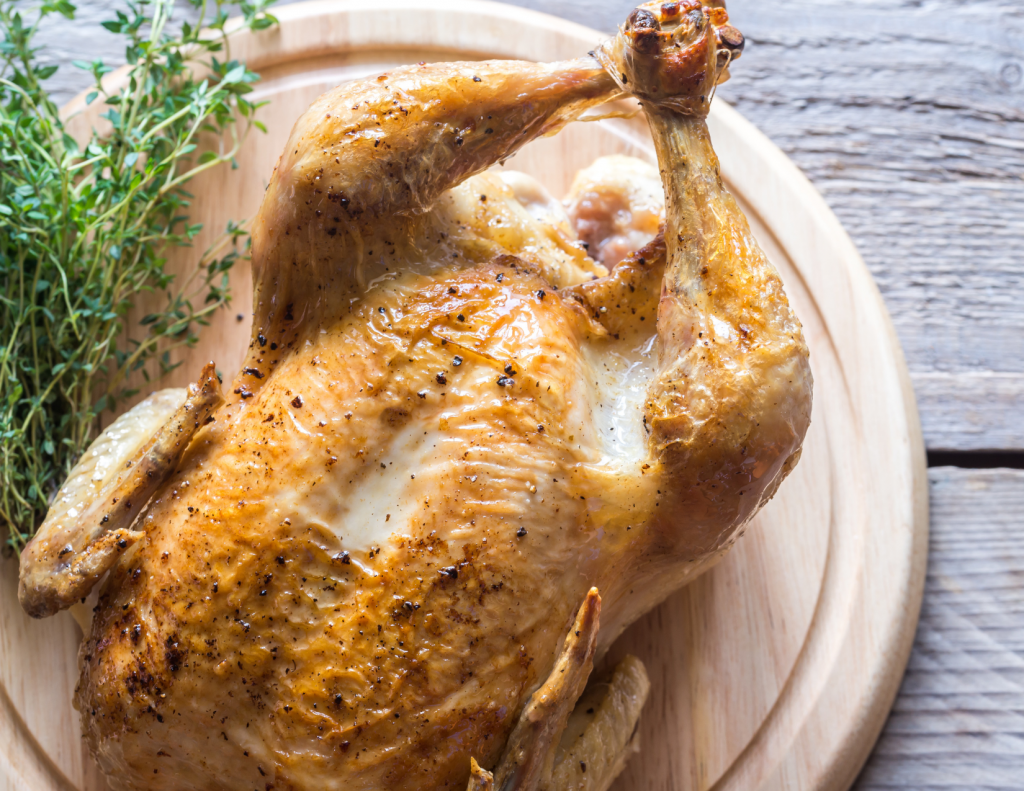
Melissa’s Perfectly-Brined Whole Chicken
Ingredients:
1 whole chicken (3 – 5 lbs)
1 lemon
½ stick of butter
3 rosemary sprigs
Salt
Pepper
For the brine:
2 quarts of water
8 tablespoons salt
4 tablespoons sugar
Directions:
1. The day BEFORE you roast your chicken, cook and cool your brine. In a stock pot combine water, salt and sugar. Bring to a simmer just to dissolve the sugar and the salt. Leave on your stove to cool overnight.
2. In the morning, submerge the chicken in the brine and place in your fridge. Let brine for about 3-4 hours. Remove the chicken and place it on a rack in your fridge to completely let it dry out from the brine (about an hour or two).
3. Preheat your oven to 400 degrees.
4. Cut the stick of butter into ½ inch slices. Loosen the skin on the breasts of the chicken and put a few slices of butter underneath the skin.Tuck the other piece of butter in the wings and place a few slices on top of the chicken.
5. Slice the lemon into about 4 pieces. Squeeze one slice over the chicken. Place the other pieces inside the cavity along with the rosemary springs. Generously salt and pepper the chicken.
6. Place chicken on a lightly-oiled cast iron pan or baking dish and roast for approximately 45-60 minutes, or until the thickest part of the chicken reaches an internal temperature of 165 degrees F. Cook time will vary depending on your oven and the size of your bird.
7. Remove your chicken from the oven and let it rest for 10 minutes before carving and serve with the pan juices.
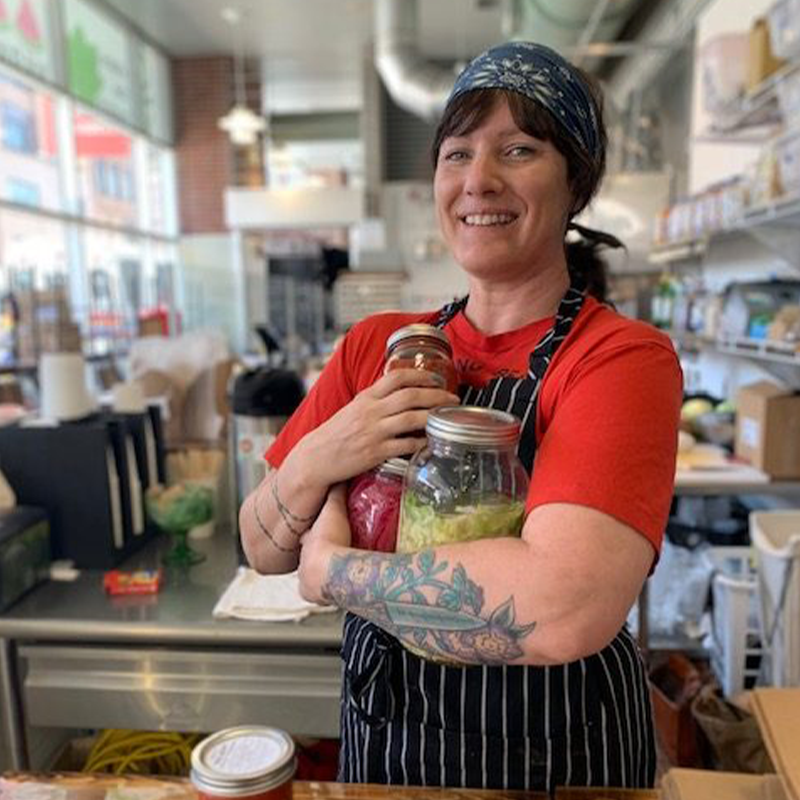
• Melissa Rebholz was born and raised in Buffalo, New York, to a Sicilian/German family. She grew up in a household revolving around food. In 2007, a summer of volunteering for GrowNYC (New York City’s Farmer’s Markets) led her down the path to culinary school at The Natural Gourmet Institute and 10 subsequent years of farming from Long Island to Sonoma to Tennessee. Working simultaneously in kitchens to support her farming habit, Melissa migrated back to the rustbelt in October of 2019 to help Grow Ohio Valley open the Public Market as the head chef. Her hobbies include foraging, baking, dinner parties and exploring her new home of Wheeling, West Virginia.