Do you love thin crust artisan pizza? I’m talking about the kind of pizza usually seen coming out of a wood fired oven with the crust slightly charred and the toppings bubbling away. Whether you have a gas or charcoal grill, you have an excellent chance of reproducing the pizza you love in your own backyard. In a wood fired or deck oven in a pizzeria the temperature is usually around 700-800 degrees. You won’t get anywhere close to this temperature in your home oven, however, your grilcan likely pull off 550-650 degree temperatures, which will get you a lot closer to the restaurant pizza you love.
With the Fourth of July celebrations coming up this weekend, you’ll likely be firing up the grill – so why not try something new? Leave the hotdogs behind this weekend and try your hand at creating your own grilled pizzas. Here are my tried and true tips for creating the perfect pizzas on your home grill.
The Tools
If you plan to become an at-home pizzaiolo there are a few tools I suggest you invest in early on.
The Peel: The pizza peel is the surface on which you top your pizza. You always make sure to flour your peel so your pizza easily slices off onto whatever surface you are using to cook your pizza. I love wooden peels as I find that the pizzas stick less often to wood. I like to use aluminum peels for removing pizzas from the oven.
Pizza Stone: A baking stone will help you achieve an evenly cooked crust in your grill or in your home oven.
Infrared Thermometer: An infrared thermometer can be a great tool for cooking pizzas outdoors (or indoors). This will be especially true if you have a charcoal grill where the temperature can be less predictable. You can use the laser to test that the surface of your cast iron, pizza stone, sheet tray or grill is hot enough for the pizza dough.
Digital Scale: You can convert the measurements in this recipe online if you are using cups or teaspoons to measure, but I HIGHLY suggest buying a cheap digital scale if you are a baker or would like to make excellent pizzas and breads regularly.
Pizza Pans: Pizza pans are inexpensive and you’ll need something to transfer the pizza to if you are using a stone or cooking directly on the grate of your grill. You can find pizza pans of all sizes locally at National Equipment.
Pizza Cutter: A nice sharp tool which will help you easily cut your pizza into slices.
The Dough
First, we need to talk about dough. Great pizza dough has very few ingredients. You can make an excellent dough using only water, yeast, flour and salt. However, I prefer to add a little sugar and olive oil to mine.


Locally, Good Mansion Wines carries “00” flour and you can easily source it online too. I have been seeing the King Arthur Brand of “00” pizza flour in area grocery stores as well. Some of the brands that you will find online are “Caputo” and “Cento Anna Napoletano. If you cannot find 00 flour, bread flour works just fine for pizza. The reason I prefer “00” flour is because it has a finer grind and is considered more like an all-purpose flour in Italy. I’d suggest trying the recipe using different flours the first few times, this way you will get a feel for which you like best.
Ingredients:
- 440g “00” or AP Flour
- 18g sugar
- 6g yeast
- 6g salt
- 6g olive oil
- 1 ¼ cup water (add one cup first then, you may need more or less)
- Semolina flour for dusting the peel and pan
Preparation:
- In a large mixing bowl or bowl of a stand mixer fitted with dough hook, combine flours and salt, yeast, sugar and olive oil.
- Slowly begin to add the water with the mixer on (or pour one cup in to the bowl with the flour). Keep adding water until the dough is just together and there are no dry bits of flour. It should be a little sticky. You don’t want the dough to be too dry. It should be easy to knead and the not tough.
- Knead dough for 5 minutes. Let the dough rest, covered for 15 minutes. Knead the dough again for 5 minutes. Place the dough in a lightly oiled bowl with a wet towel over top and let rest and rise for 2-3 hours at room temperature or for 8 to 24 hours in the refrigerator. (If you refrigerate the dough, remove it 30 to 45 minutes before you begin to shape it for pizza.)
- When the dough is doubled in size, cut it into two even pieces (they will be roughly 12 oz each). Ball up the dough using your hand to roll into a ball and tuck the ends underneath. Place on a floured surface and let the dough rest for about 30-45 minutes.
- To make pizza, place each dough ball on a heavily floured surface and use your fingers to stretch it, then your hands to shape it into rounds or squares. Place the dough on a floured peel to top before baking.
The most important step in preparing pizza dough is the final “rest” after you shape the dough. Here you are letting the dough relax so it’s easily stretched. If you start to work the dough and there is resistance and it’s not stretching very easily, let it rest some more. You can’t force it. Because that’s when you will tear a hole in the dough. The best thing you can do if you stretch and a hole forms is reshape the dough back into a ball and let it “rest” again. Resting time really varies based on the conditions in your home but I would say it’s generally between 30-45 minutes. Resting is important because you want to be able to stretch your dough by hand. Stretching as opposed to rolling out with a pin will keep all the lovely oxygen and air bubbles in your dough creating a light, airy and pillowy crust. You can also roll your dough out; it will just produce a crispier crust more like a cracker.
The Toppings
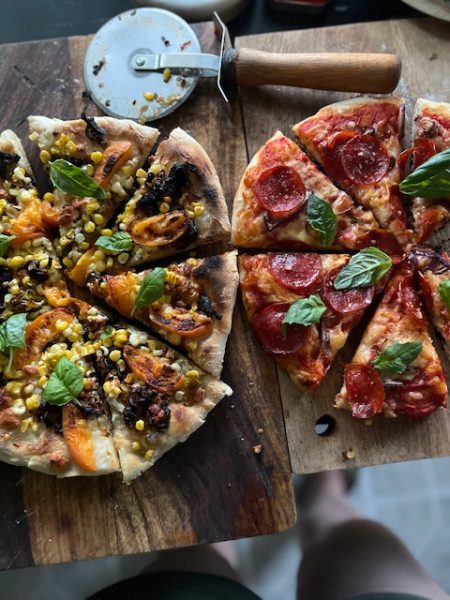
This is where you can let your imagination run wild. Everyone loves a classic pepperoni or veggie pizza, but there are a lot of flavor combinations out there.
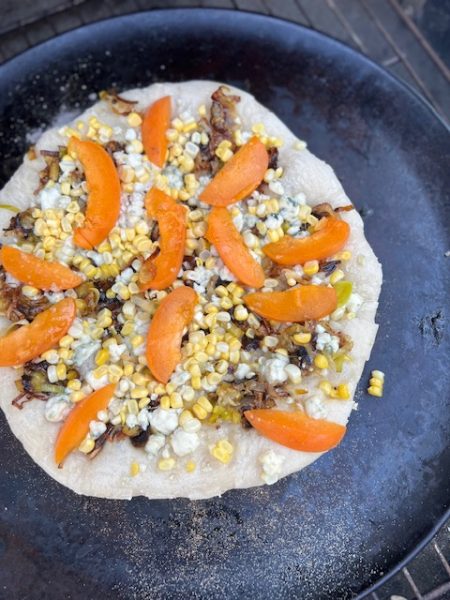
Personally I love fruit on pizza if it’s combined with the right amount of salty cohorts.
Some topping suggestions for grilled pizza summer:
- Caramelized leeks, blue cheese, sweet corn and apricot
- Hawaiian pizza with pineapple and spam
- Heirloom tomato, mozzarella and fresh basil
- Fresh basil pesto, sweet corn, bacon and red onion
- Red sauce, shaved summer squash, feta, jalapeno and red onion
- Local sausage and roasted red peppers
- Caramelized onions, sliced apple and brie
Grilling Your Pizza
After you’ve got the perfect dough and all of your toppings assembled, you’ll want to fire up your grill – get it as hot as you can. If you are using a pizza stone, try to get it on the grill when it’s still warm -cool and let it heat with the grill. Pizza stones can be finicky and crack, going from cold to immediately very hot is one way to cause thermal shock and easily crack your stone.


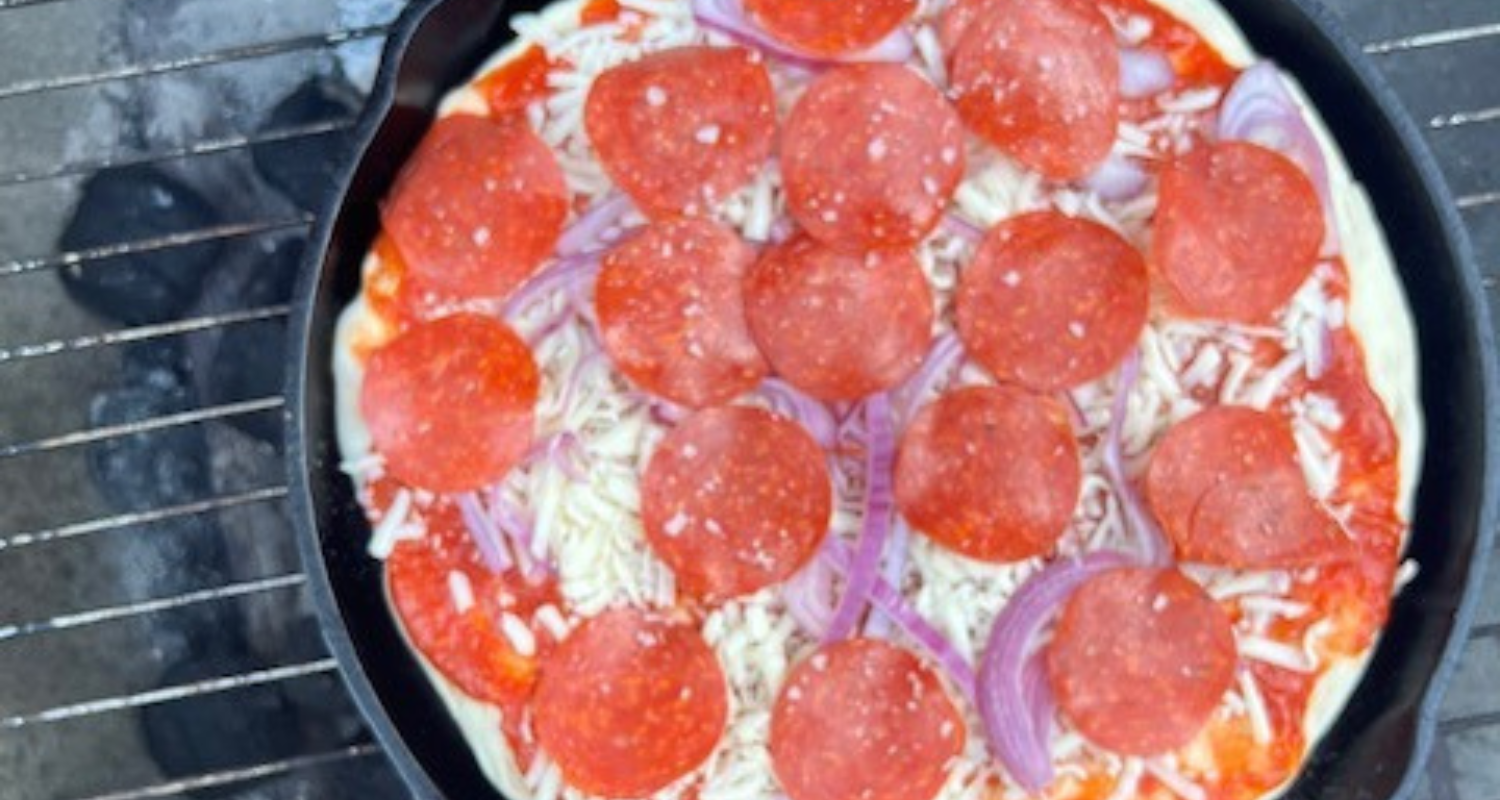
I have used a pizza stone, a pizza pan and a cast iron pan in my grill. I will admit that using a stone or cast iron is the way to go. The cooking of the crust was more even and quick and didn’t experience as much burning as I did with the pizza pan, which I think is a little too thin for the high direct heat of the grill. Some folks put their pizza directly onto their grill, which seems scary to me, but if you like living on the edge you might want to try. I’ve actually seen delicious results come from cooking directly on the grill, but you’ll want to have a very clean grill that is very hot so the dough doesn’t stick to attempting this.
Cook your pizza with the cover on the grill to get even heat. If your grill is between 550-650 degrees you’ll get a nice crispy pizza in about 10 minutes, maybe less. Cooking time is going to vary widely because we all have different grills and charcoal, etc. Keep on eye on it and use a spatula to periodically lift up the crust to make sure it’s not burning.
Wait about 5 minutes before cutting into your hot pizza so the toppings are less molten and likely to slide off.
Happy grilling!
• Melissa Rebholz was born and raised in Buffalo, New York, to a Sicilian/German family. She grew up in a household revolving around food. In 2007, a summer of volunteering for GrowNYC (New York City’s Farmer’s Markets) led her down the path to culinary school at The Natural Gourmet Institute and 10 subsequent years of farming from Long Island to Sonoma to Tennessee. Working simultaneously in kitchens to support her farming habit, Melissa migrated back to the rustbelt in October of 2019 to help Grow Ohio Valley open the Public Market as the head chef. Her hobbies include foraging, baking, dinner parties and exploring her new home of Wheeling, West Virginia.