I haven’t always loved winter vegetables. It wasn’t until I started managing farmer’s markets in my 20’s in NYC that I learned the names and uses for many of the gnarly-shaped roots that covered the farmers’ tables in the coldest of months.
I had simply lived life believing a carrot, was a carrot, was a carrot. Then I tasted a winter carrot, touched by frost. That’s when I learned that root vegetables like carrots, parsnip and turnips respond to cold by converting their starch to sugars. This keeps the water in their cells from freezing. Root vegetables that have been frosted before harvest are the sweetest of the year. Alternately, in the summer, vegetables like lettuce and cucumbers are frequently bitter due to the stress of heat.
While many home gardeners limit their green thumbs to the spring and summer seasons, there are plenty of ways to make local vegetables a part of your diet year-round in Wheeling. First of all, many farmers grow storage crops. Roots like beets, carrots, onions, sweet potatoes, yellow and red potatoes, cabbages, winter squashes and garlic at the right temperature and humidity can frequently be stored until the following year’s crop is ready to harvest. Home gardeners can similarly plan ahead by adding these types of vegetables into their rotation during the growing season.
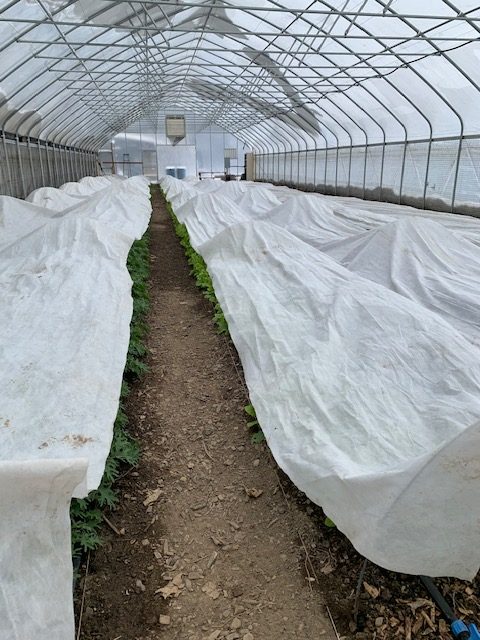
Secondly, a growing number of farmers have invested in high tunnels (or hoop houses). This is a structure in which to grow plants very similar to a greenhouse but it uses passive solar heat to keep the plants inside thriving. In addition to the tunnel itself, row cover can be used over the plants for an added layer of protection. Here in Wheeling, we are lucky to have farmers using high tunnels that provide local produce year-round at places like the Public Market.

Lastly, you can enjoy an extended local vegetable season by preserving the harvest. Canning sauce tomatoes, sun dried roma tomatoes, pickled beets, ramps and cucumbers and sweet fruit jams line the shelves of my pantry. For a cheap and easy way to preserve your produce, freezing is the best option. I don’t even know how many bags of Marshall Country strawberries I have to move at this point just to get an ice cube for a drink!
You might notice that some of the winter vegetables that you see in stores around Wheeling will be in abundance at lower prices throughout the winter season. Why? While they might not have been grown in West Virginia, winter brassicas like cauliflower, broccoli, and cabbage thrive in states just to the south of us where the weather is conducive for growing.
And of course, let’s not forget winter citrus! The gold stars of winter are the blood oranges and the cara cara oranges for me. Though mandarins, clementines, grapefruit, meyer lemons and kumquats all shine in the wintertime.
With so many amazing winter vegetable and fruit choices there is no reason to settle for a tasteless tomato or a bland berry. Try one of these two recipes featuring comforting winter vegetables that are grown close to home.
Baked Cauliflower

Ingredients:
1 head cauliflower
2 Tbsp. chickpea or white miso paste
1/2 of a yellow onion, diced small
1 tablespoon minced fresh oregano
8 sundried tomatoes, sliced thin
1 clove garlic, minced
zest of one lemon
1 cup panko
black pepper, to taste
olive oil
Directions:
1. Preheat oven to 350 degrees F.
2. Cut the cauliflower in half and continue to slice into 1-inch thick pieces.
3. In a small skillet over medium heat, saute the diced onion in ½ Tbsp. olive oil until lightly browned. Remove from heat.
4. In a small bowl combine the onion, sun dried tomato,oregano, garlic, lemon zest and panko. Add just enough olive oil to bring it all together. Add pepper to taste.
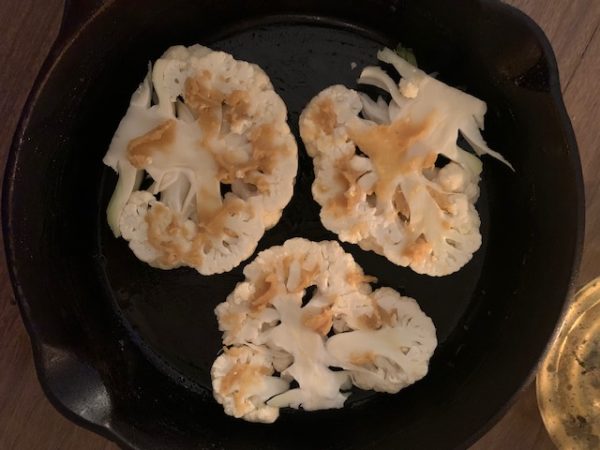
5. Line the parchment paper or a cast iron pan with 1 tsp. olive oil. Place the cauliflower slice on it. Take a spoon and smear miso over the cauliflower and then top with the breadcrumb mixture. Bake for 25-30 minutes, until cauliflower is cooked through and mixture is slightly browned.

6. To serve, top with microgreens or chopped parsley.
Tempura Rutabaga with Spicy Chili Aioli

For the rutabaga:
1 peeled rutabaga
½ cup spelt flour
½ cup rice flour
1 tsp paprika
1 tsp salt
1 cup plain seltzer (soda) water
Vegetable or canola oil for frying
For the aioli:
1 whole egg
1 egg yolk
2 tsp. chili garlic paste
1 tablespoon minced cilantro
Juice of one lemon
1 cup plus 2 tablespoons olive oil
Salt, pepper to taste
Directions:
1. In a food processor add all of the aioli ingredients EXCEPT the olive oil. Pulse a few times to combine. Very slowly pour in the olive oil into the food processor while it’s running. The mixture will thicken and resemble mayonnaise once all the oil is slowly incorporated. Season with salt and pepper and refrigerate.
2. Slice the peeled rutabaga into either thick cut “french fry” shapes or you can slice it in half and into half moon shapes (this is your personal preference). The slices should be about ½ inch thick.
3. Bring a small pot of water to a boil and drop in the rutabaga. Let it simmer at a low rolling boil for 5-7 minutes until it’s just easily pierced with a knife. Remove from the water onto a paper towel or a kitchen towel to dry.
4. In a small bowl, mix the spelt flour, rice flour, paprika and salt together. Slowly whisk in the soda water so that the mixture becomes somewhat of a loose batter.
5. In a medium saucepan, heat enough oil to submerge the rutabaga pieces to around 350 degrees F. One by one, dip the rutabaga in the tempura batter and lower into hot oil. Do not crowd the pot. Continue to cook the rutabaga in small batches until they are lightly browned. Serve hot with aioli on the side and fresh cilantro as a garnish.
Notes:
For an extra local touch, I used spelt flour from Weatherbury Farm in Avella, PA for the tempura batter.
To prepare the rutabaga, begin with peeling the waxy skin from it. This is best accomplished with a “Y” peeler or a sharp paring knife.
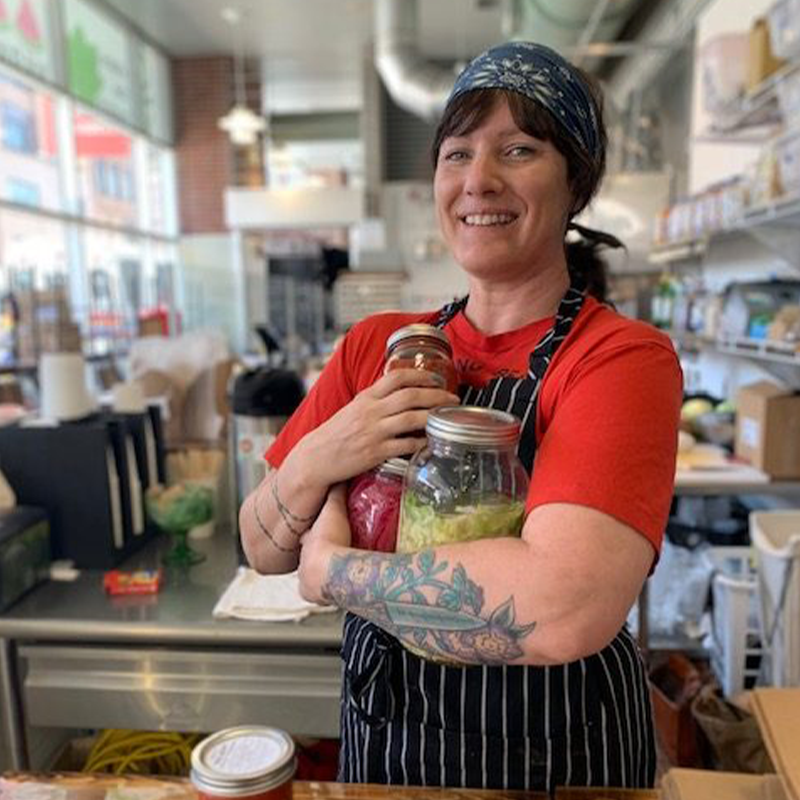
• Melissa Rebholz was born and raised in Buffalo, New York, to a Sicilian/German family. She grew up in a household revolving around food. In 2007, a summer of volunteering for GrowNYC (New York City’s Farmer’s Markets) led her down the path to culinary school at The Natural Gourmet Institute and 10 subsequent years of farming from Long Island to Sonoma to Tennessee. Working simultaneously in kitchens to support her farming habit, Melissa migrated back to the rustbelt in October of 2019 to help Grow Ohio Valley open the Public Market as the head chef. Her hobbies include foraging, baking, dinner parties and exploring her new home of Wheeling, West Virginia.


