With Thanksgiving just a few days away, it’s time to start prepping for what will be the centerpiece of many holiday meals – the turkey! I’ve prepared several birds during my time as a chef and have found that the key to a perfect Thanksgiving turkey is in the brine.
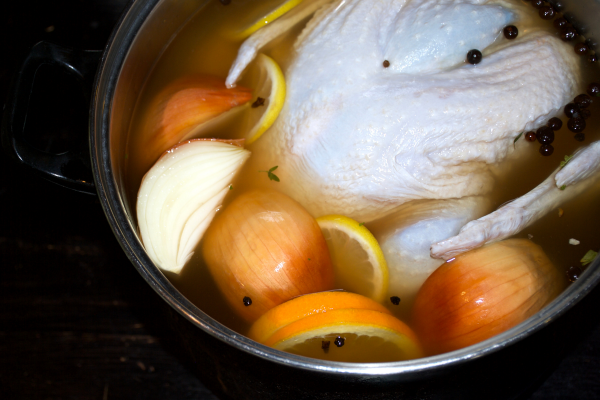
What is a brine, you ask? It’s a simple method of using salt to enhance the flavor and texture of meat, leaving you with tender and juicy meat for your Thanksgiving meal. There are two methods to choose from when bringing your bird – dry or liquid bine. In my opinion, it doesn’t matter which method you choose, only that you should always brine your bird. In fact, I hope you love brining so much after Thanksgiving that you continue to brine all year long when preparing whole chickens and other meat at home.
In most home kitchen setups, the dry brine method will be the easiest to execute if you have limited refrigerator space. However, if you do have room to fit a large container of liquid brine with a turkey in it, I would highly suggest trying the liquid brine method. It’s my personal favorite for turkey and chicken and I almost never cook a bird without brining.
Either way, you’ll want to have your turkey completely defrosted by Tuesday morning to begin the brining process (that means pull get your turkey out of the freezer now if you haven’t already!)
Liquid Brine Preparation

If you want to try the liquid brine method, you’ll want to prepare your brine on Monday night and let it sit out on your stove overnight to completely cool. You can add the turkey to it Tuesday morning.
Ingredients
1 cup kosher salt
½ cup light brown sugar
1 gallon vegetable stock
1 tablespoon black pepper
1 tsp. allspice berries
2-inch thick piece of fresh ginger, sliced
1 gallon of ice water (with ice in it, it can be about half ice)
Directions
Bring everything but the ice water to a slow boil on the stove. Remove from heat and add the ice water. Let the brine completely cool to room temperature.
Once the brine is cooled, you can add your thawed turkey to the brine. At this point, you can add aromatics to the brine for extra flavor. I like to add fresh herbs like sage, rosemary, and parsley. I also add 1-2 sliced onions and apples.
Once you add your turkey to the brine, make sure the bird is fully submerged. I like to place a heavy ceramic plate over top of the bird with a weight on it to help submerge it. You can use a one-gallon plastic food storage bag filled with water and sealed as a weight.
Place the submerged turkey in your refrigerator for about 12-16 hours. Halfway through, you can turn it if you like, but if it’s fully submerged then you can leave it alone. After you remove the bird from the brine, place it on a rack and completely let it dry out in the fridge.
On Thanksgiving, take the turkey out and let it come to room temperature. Take some softened butter and rub it all over the turkey; you can also place butter up under its skin as well. Tuck the wings underneath the bird. You can also add aromatics to the cavity. I like using apples, lemons and fresh herbs like sage and rosemary.
Roast the turkey at 450° F for the first 30 minutes. Next, cover the breast with foil and lower the tempreature in the oven to 325° F. How long to roast the turkey will depend on your oven and the size of the turkey. General guidelines per weight are:
- 4 to 8 pounds (breast only): 1 1/2 to 3 1/4 hours
- 8 to 12 pounds: 2 3/4 to 3 hours
- 12 to 14 pounds: 3 to 3 3/4 hours
- 14 to 18 pounds: 3 3/4 to 4 1/4 hours
- 18 to 20 pounds: 4 1/4 to 4 1/2 hours
- 20 to 24 pounds: 4 1/2 to 5 hours
It’s important to keep checking the temperature of the meat by inserting a meat thermometer into the thigh of the turkey. When it registers 160° F, you can remove the turkey and cover it with foil for about 15 minutes before carving.
Dry Brine Preparation

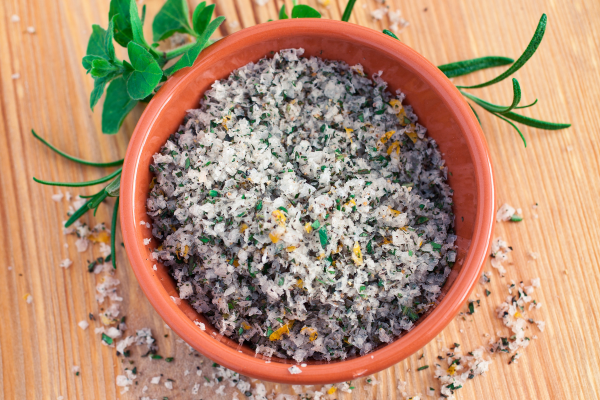
You’re going to start this brine on Tuesday morning. Start with a completely dry bird that you know the weight on. Rub 1 tablespoon of salt per pound all over the bird. Be sure to get some under the skin and into the cavity as well. Wrap the turkey in plastic wrap and let it sit in the refrigerator until Thursday morning.
Ingredients
Kosher Salt
Black Pepper
Parsley
Thyme
Sage
1 large onion, quartered
1 large apple, halved
1 stick butter
Vegetable or chicken stock
Directions
Take your salted turkey out of the refrigerator on Thursday morning and pat it dry (don’t rinse). Let the turkey come to room temperature. Rub the butter under the skin of the turkey breast and onto the thigh. Sprinkle some black pepper on the turkey and place the herbs, apple and onion in the cavity.
Roast at 450° F for 30 minutes. Next, cover the breast with foil and lower the temp in the oven to 325° F. Add 2 cups of stock to the bottom of the roasting pan. Continue to roast until the turkey thigh meat registers 160° F (you can follow the same roasting guidelines listed above). In the last half-hour of roasting, you can uncover the turkey to crisp and brown the skin of the breasts.
Don’t Forget the Gravy!

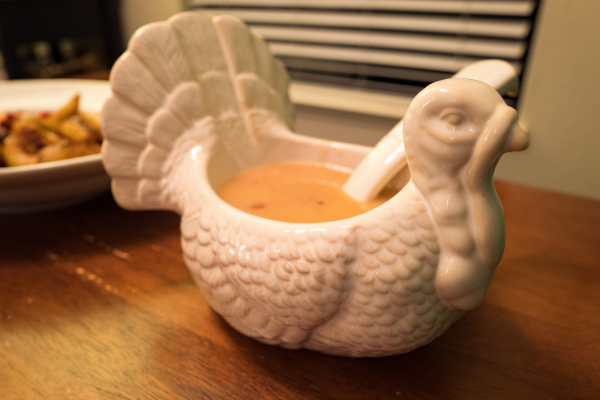
You can use your pan drippings to make an easy and delicious gravy to serve with your meal. Pan drippings are just the juices from the meat that collect in the bottom of your roasting pan. They are full of flavor, which makes for an excellent gravy that your guests will love!
You’ll want to have at least a quart or two of gravy if you are having a big gathering, so you may want to have some extra chicken stock on hand to work with as well.
Ingredients
6 tablespoons butter
1 small onion, diced small
2 cloves garlic, minced
6 tablespoons flour (you can use gluten-free flour, or a quick-mixing flour like Wondra)
4 tablespoons pan drippings
1-2 quarts of stock
Salt and pepper to taste
Directions
In a medium saucepan, melt butter. Add onion to the pan and sweat the onion until it’s translucent. Add the garlic and stir for about a minute.
Add the flour and coat the onions and garlic. Once the flour is all combined and there is no more dry flour, add the pan drippings and stock. The classic ratio for gravy is three-two-one—three tablespoons flour, two tablespoons fat, and one cup of stock. You can scale your recipe up or down using this ratio based on how much gravy you want to serve.
Keep whisking this mixture on high heat until it thickens, being careful to not let it burn on the bottom. When the gravy reaches your desired consistency you can add salt and pepper to taste. If you like pieces of onion and garlic in your gravy you can leave it as is or you can use an immersion or stand blender to puree the whole mixture into a smooth gravy.
Preparing a Thanksgiving turkey for a crowd can be intimidating, but following these simple methods will ensure a tasty meal that your guests will appreciate.
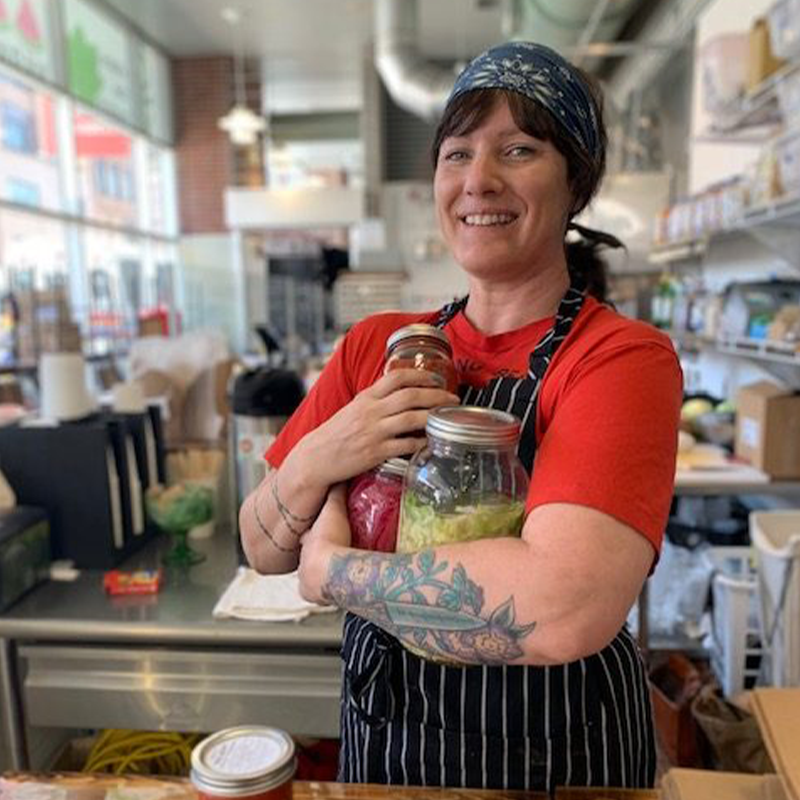
• Melissa Rebholz was born and raised in Buffalo, New York, to a Sicilian/German family. She grew up in a household revolving around food. In 2007, a summer of volunteering for GrowNYC (New York City’s Farmer’s Markets) led her down the path to culinary school at The Natural Gourmet Institute and 10 subsequent years of farming from Long Island to Sonoma to Tennessee. Working simultaneously in kitchens to support her farming habit, Melissa migrated back to the rustbelt in October of 2019 to help Grow Ohio Valley open the Public Market as the head chef. Her hobbies include foraging, baking, dinner parties and exploring her new home of Wheeling, West Virginia.


